An Introduction to Tables
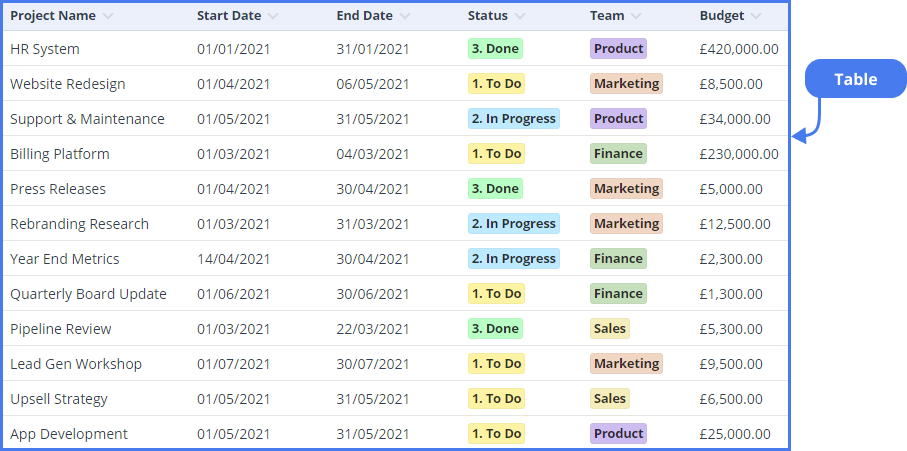
In Gridfox, Tables are used to define the data that you would like to store in your Projects. For example,
- In a CRM Project, you may have a Table for Companies and another for Opportunities
- In a Marketing Campaign Planner Project, you may have a Table for Campaigns and another for Activities
- In a Project Tracker Project, you may have a Table for Projects and another for Tasks
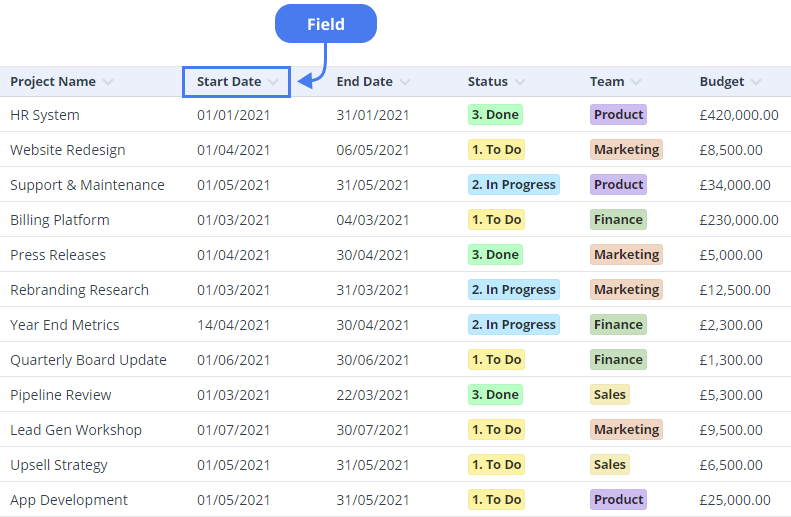
Fields are then added to Tables to describe what you would like to store about Records in the Table. For example,
- On a Tasks Table, you may have Fields for Task Description, Task Owner and Due Date
- On an Events Table, you may have Fields for Start Date, End Date and Event Name
- On a Customers Table, you may have Fields for Customer Name, Sector and Number of Employees
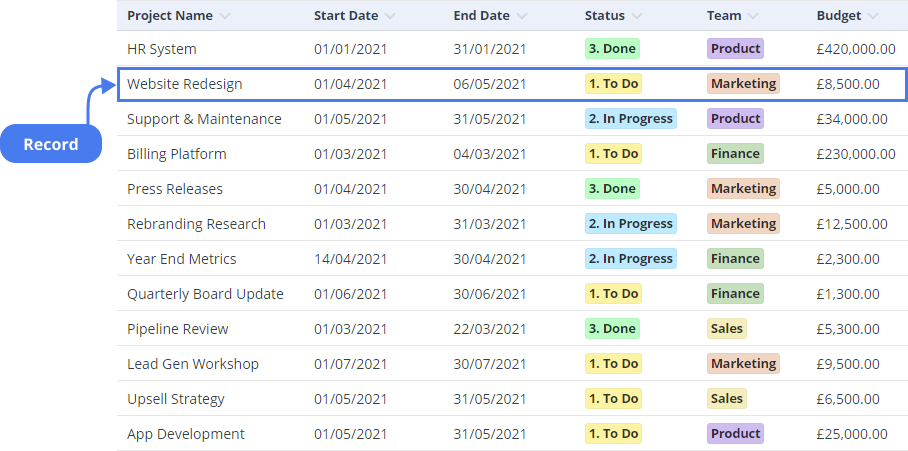
You can think of Tables like worksheets on a spreadsheet, where Fields are the columns in the spreadsheet worksheet.


Once you have created your Tables and Fields, the Users of your Project can then add and edit Records in the Tables, where Records are similar to rows in the spreadsheet worksheet.

Your Tables can then be linked together to allow your Users to create relationships between different Records.
Setting Up Tables
To set up Tables for your Project you will need to:
- Create the Tables
- Add Fields to the Tables
- Link Tables together
- Design Views for each Table
You can then continue with the remainder of your Project setup: creating any Workflows, configuring Permissions and then inviting Users.